
Shoes by Robert
Brewer's Boots

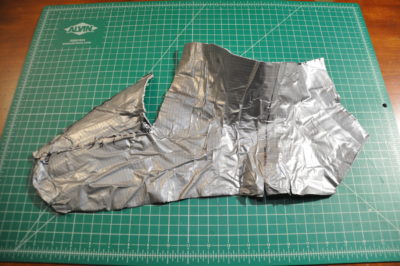
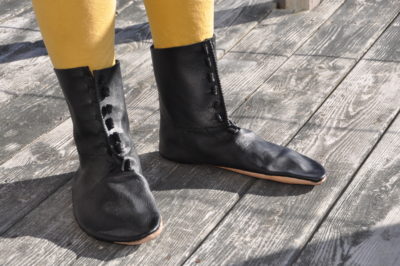
The head of the Æthelmearc Brewers' Guild contacted me about having a pair of shoes made for his Laurel elevation. His preference for a high ankle shoe or low boot offered the chance to work with a new style. However, he's not close to me and so I needed him to make his own duct tape foot mold and send it to me.
Project "firsts":
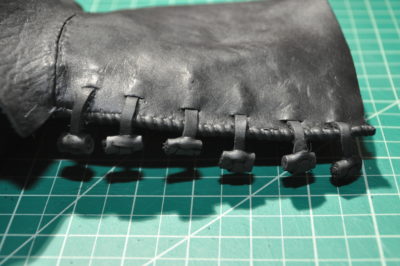
- Attaching an upper upper to a lower upper
- Numerous sewn in toggles as fasteners
- Recipient-supplied foot molds (i.e., I didn't make them)
- Tongue
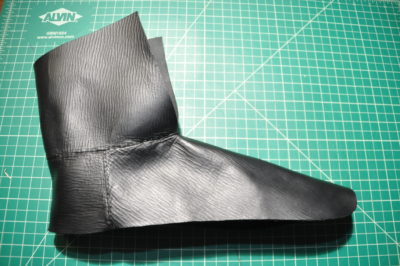
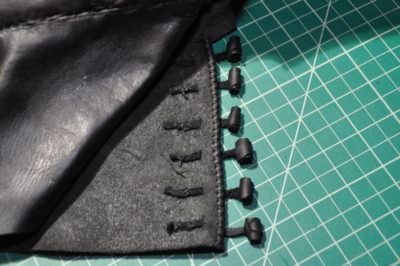
This project didn't turn out as well as I'd hoped because I didn't get the pattern correct: there's no centered bottom toggle that goes through both flaps, as in the exemplars. I'm still not sure what went wrong.
Anyway, it is feasible to have someone else make their own foot molds (or rather, have a helper do it) and then send them to me in the mail, thus obviating the need to meet in person to do it myself.
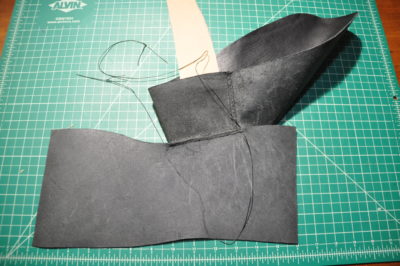
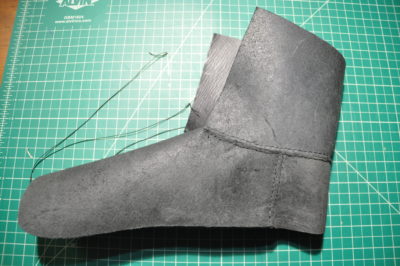
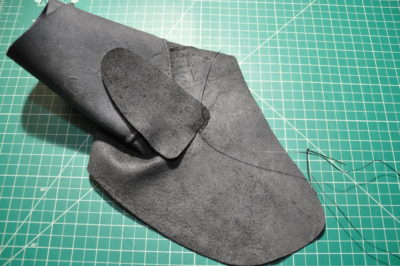
The boot mold did not lay flat, so I had to separate the top part and work with it on its own, which resulted in an upper upper that had to be butt-stitched to the lower-upper, just like the exemplars show.
The books don't explain how the tongue is attached, actually, at least not that I saw, so I stitched through the thickness of the vamp and looped through the tongue, which I shaped as it made sense: wider than the opening and tall enough to cover the gap where the two front parts meet. All of its edges were rounded so that there would be no corners to catch on anything.
With regard to the toggles, the books say they are stitched in place to the uppers. That is, they are not adjustable! Not a great idea, it would seem. Regardless, the books don't say how they are actually attached to the uppers, so I asked M. Volken, via her Facebook site, where she had just coincidentally posted an image of this exact boot that she had just completed.
She responded that "According to archaeological examples- just about any way possible- have seen constriction, pierced long end, whipstitches along one edge, whipstitch over the entire strip, so probably not one 'right' way." This relieved me, because I'd already attached the toggles by both constriction and piercing the long end.
I need to figure out why this pattern does not work for the center toggle the next time this style is made. For now it must be set aside for a time-sensitive project needed for another Laurel elevation ceremony.


Last updated April 18, 2018.